Transactional email
The sending account your agents email customers through, using an address you have verified so the reputation is yours.
On this page
Transactional email is how your agents and scheduled jobs email people. A confirmation, a link to a report, an alert, a summary at the end of a shift: all of it goes out through your own sending account, from an address you have verified, so recipients see your business and the sending reputation you build is yours.
Where to find it
Press Open in Kareenos above to open the Connectors tab, then scroll to the Transactional Email section and its SendGrid card. Administrators only.
Before you start
You need an account with SendGrid. The free tier is enough to set this up and test it.
Step by step: setting it up
Open the SendGrid API keys page on your own SendGrid account.
Choose Create API Key, then Restricted Access, and enable Mail Send only. Nothing else is needed, and a narrower key is a smaller problem if it ever leaks.
Copy the key. SendGrid shows it once and never again.
Verify the address you will send from, under Settings, Sender Authentication. You can verify a single sender address to get going, or authenticate a whole domain, which is the better answer and is covered below.
Open Connectors and press Set up on the SendGrid card. The dialog's Setup guide repeats steps 1 to 4.
Paste the API key, enter the verified From email and optionally a From name.
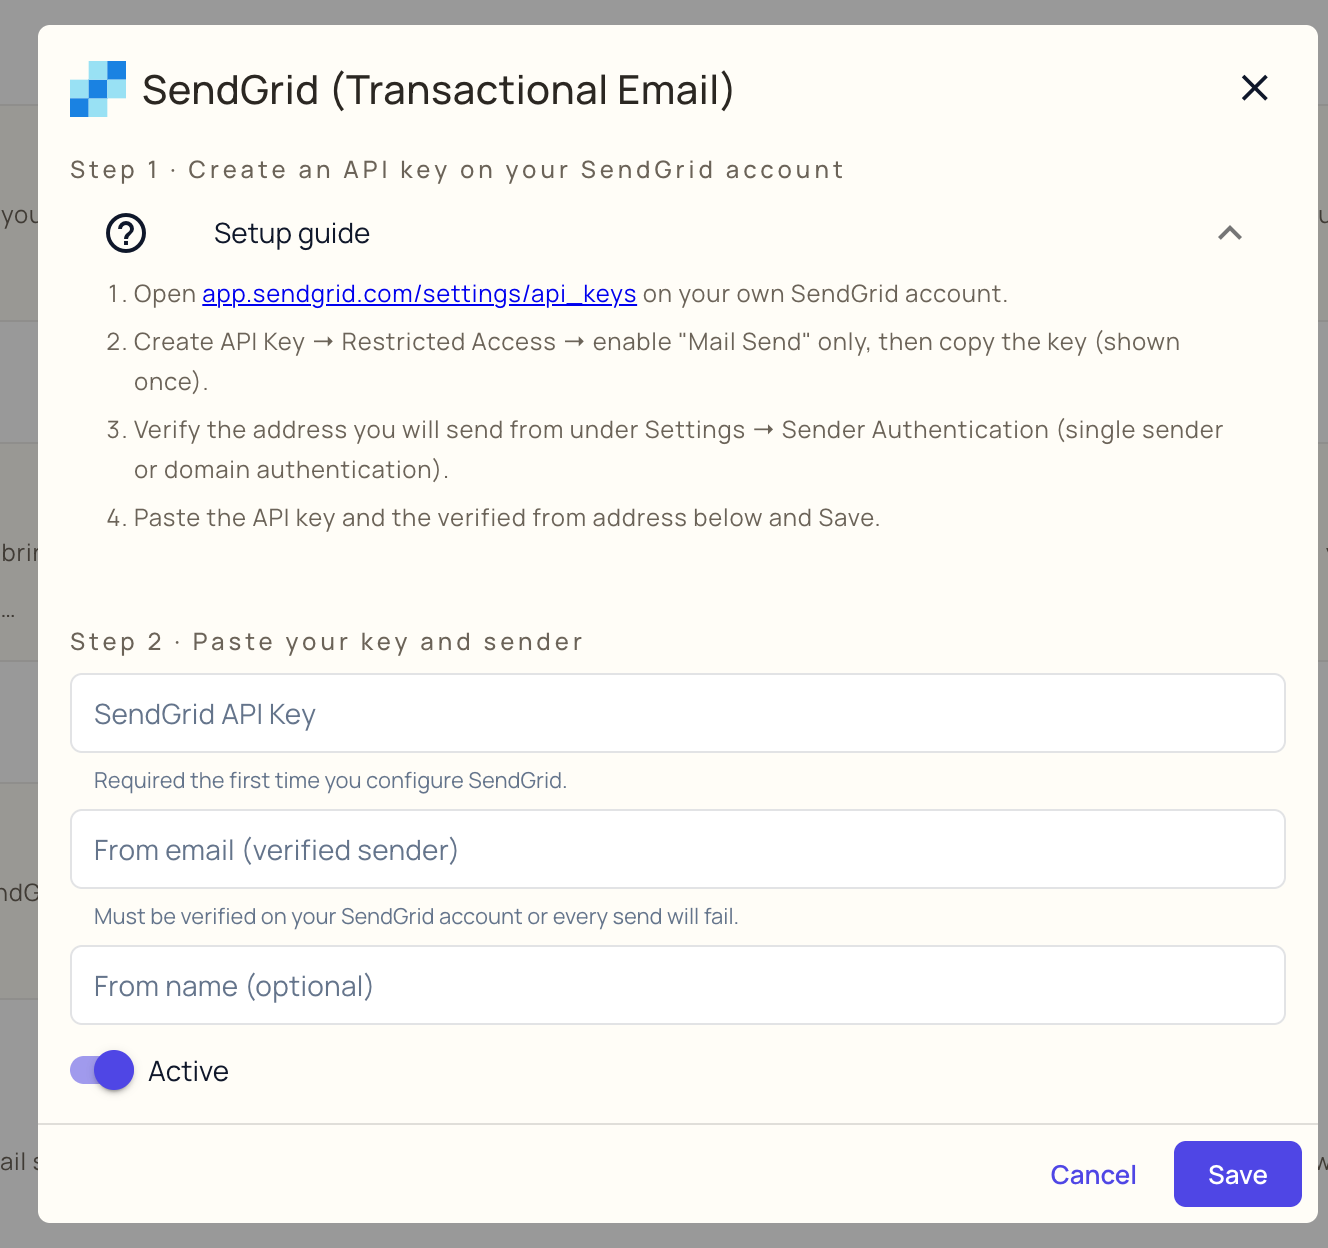
Leave Active on and press Save.
Important
This card has no Test Connection button, so a wrong key or an unverified sender will not show up here. It shows up the first time an agent actually tries to email somebody. Send yourself one test message as soon as you have saved, and treat that as part of the setup rather than a later check.
Verify a sender or authenticate the domain
Verifying a single sender address is the quickest way to start and is fine while you are testing. Authenticating your domain is what you want before real volume: it means adding a few DNS records so receiving mail servers can confirm the mail genuinely came from you, which is most of what keeps it out of spam folders. SendGrid walks you through the records, and your IT team or domain host applies them.
SendGrid's own guide: Configure domain authentication.
What happens if it is not set up
Agents do not fall back to any shared platform sender. If nothing is configured, or the switch is off, an agent asked to email somebody reports that the organization has not set up its sender and stops rather than retrying. That is on purpose, so nothing ever leaves under an identity you do not own.
This bites most often on a project that looks complete. The build finishes, everything else works, and the first customer email is the thing that surfaces the gap. Set this up as part of Your first day checklist.
Changing the key later
Reopen the card and paste a new key over the old one. The box is empty when it opens, which is normal, and leaving it empty keeps the stored key. That means you can change the from address or the display name without having to find the key again. Clear removes the credentials entirely, and agents go back to reporting the service as unconfigured until you set it up again.
Common mistakes
- Creating a full access API key instead of a restricted one limited to sending.
- Closing the SendGrid page before copying the key. It cannot be shown again, so create a new one.
- Entering a from address that has not been verified on that SendGrid account. Every send fails.
- Saving with Active off.
- Assuming this also receives mail. It only sends. To have agents react to arriving mail, see Email servers.