kareenosdocs

Settings and Agent Config

Open in Kareenos

Users, files, email, and the place your own API keys live so they can be rotated without touching a build.

On this page

Settings is the administration area for your whole account. It holds the tabs where people, files, credentials and channels are managed: Teams, Users, Files, Agent Config, Connectors, Payments, CLI Clients, Messaging & Voice and Advanced Settings.

Where to find it

Press Open in Kareenos above, or open the avatar menu at the top right and choose Settings; the gear at the bottom of the left menu goes to the same place. Settings is for administrators. Each tab has its own address, so the links below open the tab directly.

The Settings tab bar showing Teams, Users, Files, Agent Config, Connectors, Payments, CLI Clients, Messaging & Voice and Advanced Settings

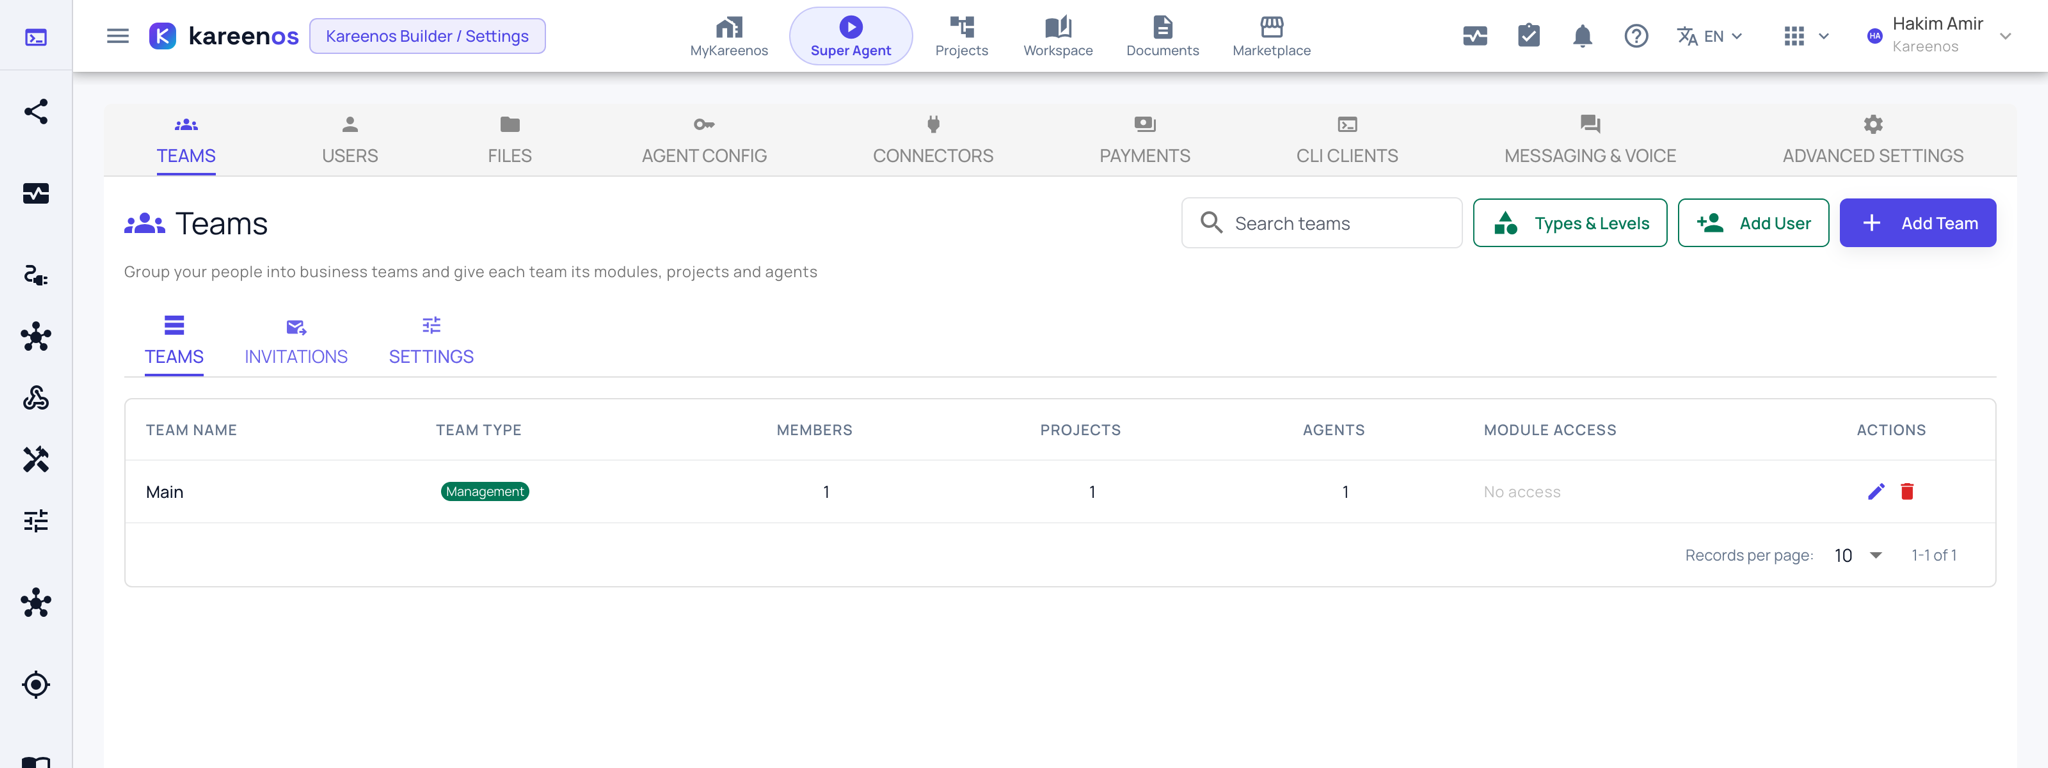
Teams

Where access is granted: see Teams and access. Open Teams.

Users

Invite people to your account, edit their details, and deactivate anyone who leaves. Each row shows the Teams the person belongs to, which is what actually decides what they can see. Open Users.

The Users tab with the Add New User button and the user table

Files

Everything your people and your agents have uploaded or produced: documents, photos, exports, attachments. Search by name, filter by type, time window or Project, then download or delete. Open Files.

Agent Config

Agent Config is where your credentials and settings live. It is a per-Project list of named values (an API key for a courier service, a default warehouse code, a threshold your business changes twice a year) that your agents and Jobs read at the moment they run.

The point is separation. Nothing that was built for you contains the key itself, only the name of the entry to look up. When a supplier reissues a key, you change one field here and every agent and job that uses it picks up the new value on its next run.

Values are hidden in the list and revealed one at a time. Each row records which Project it belongs to, who set it (a person, an agent or a job) and when.

Step by step: adding an entry

  1. Open Agent Config and press Add Entry.

    The Agent Config Store tab with its search and filter boxes, the empty table and the Add Entry button

  2. Choose the Project the value belongs to.

  3. Type the Key (the name agents and jobs will look up) and the Value, then press Save.

    The Add Entry dialog with the Project selector and the Key and Value fields

  4. Tell the agent or job the key name, not the value. When the value changes later, edit it here once.

Tip

Put a credential in Agent Config rather than inside a tool or a job. Rotating it later becomes a one-field edit instead of a rebuild.

Connectors

Every outside service your agents reach lives here: your mail servers, your Google and Microsoft apps, the account your customer email is sent through, and the ready-made connectors for services such as Buffer and GitHub. It is administrator only, and nothing falls back to a shared account, so a service that has not been set up here is one your agents will report as unavailable rather than work around. Open Connectors.

Start at Connectors, or at Choosing an email option if what you actually need is email.

CLI Clients

Registers agents running on your own servers, for work that has to happen inside your network. Press New CLI Client to create the key the installed container will use. Open CLI Clients.

The CLI Clients tab with its explanation, the search box, the empty client table and the New CLI Client button

Messaging & Voice

Where you connect the channels your customers reach you on: WhatsApp, Telegram and Slack under Messaging channels, and phone numbers under Voice channels. The same tab shows the live conversations on each one. Open Messaging Monitor or Voice Channels.

Advanced Settings

Account-level operational settings that do not belong to any single Project, kept apart so they are changed deliberately. Open Advanced Settings.

Next